How Parqet generates 1,600,000 custom Wrapped Images in 48 Hours
Much like Spotify Wrapped, Parqet Wrapped is a recap of the recent investing year.
Users receive a slideshow of images that highlight the past year’s best and worst investments, images that compare their overall performance to our community and other benchmarks, images that forecast the user’s wealth or dividends in a couple of years, and more.
For the Parqet team, Wrapped continues to be a highlight. It’s when tech, marketing and social media teams work on the same project; it’s when you can express creativity by writing and designing badges; and it’s when you can reflect together on a more or less successful year of investing. (Plus, we usually do all of it in swimming trunks, sunbathing beside a finca’s pool, overlooking the mountains of Mallorca.)
Developers in our community forums have already guessed at how we render the badges, so this year, we thought we’d clear up the fog.
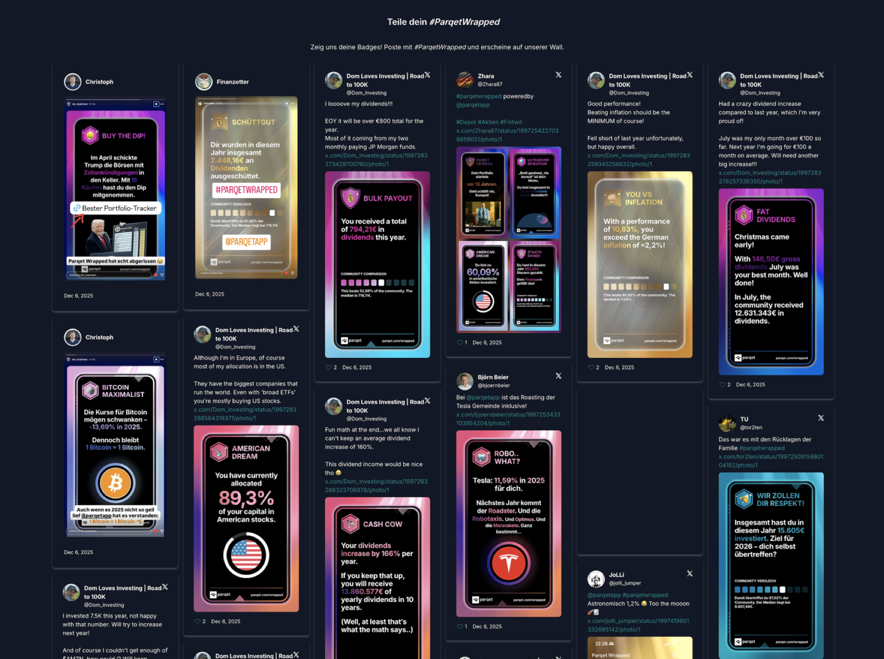 Users sharing their Parqet wrapped badges and appearing on our wall.
The Requirements
To understand the implementation, let’s look at the requirements.
First, we want to generate images. Images are easy to share on social media, they can be downloaded, and you can show them on all mobile devices and browsers with very little code.
Second, we should be able to scale the badge generation dynamically. When we first announce Parqet Wrapped in December, we get traffic spikes. By January, the traffic goes down, but a few users still discover their badges. We should scale accordingly.
Third, the badges must be generated using up-to-date market- and portfolio-data. The user’s badges should reflect the market, and not use stale stock prices from a week before. In addition, they should reflect the user’s transactions: As soon as the user sells all their NVIDIA shares, the badges should show the change in tech allocation.
Fourth, we want to compare a user’s portfolio to community benchmarks. It’s fun to know that you had a return of 12% this year, but it’s even more fun to know that you’re in the top five percent of Parqet users who performed that well.
Fifth, we want to use HTML & CSS to design the badges. We can all agree CSS is terrible, but combining pixel-perfect SVGs with ETF names of varying lengths is even worse. Trust us, we’ve tried.
Sixth, we want to have parts of the badges be transparent, such that we can display the badges on top of a glowy, bright animation. That animation then “highlights” the important text. We also need some more and some less transparent areas for more visual interest. This is hard to describe in text, but you’ll see images below.
The easiest way to understand how we handle these requirements is to walk through the lifetime of a wrapped request.
Starting the Wrapped Journey
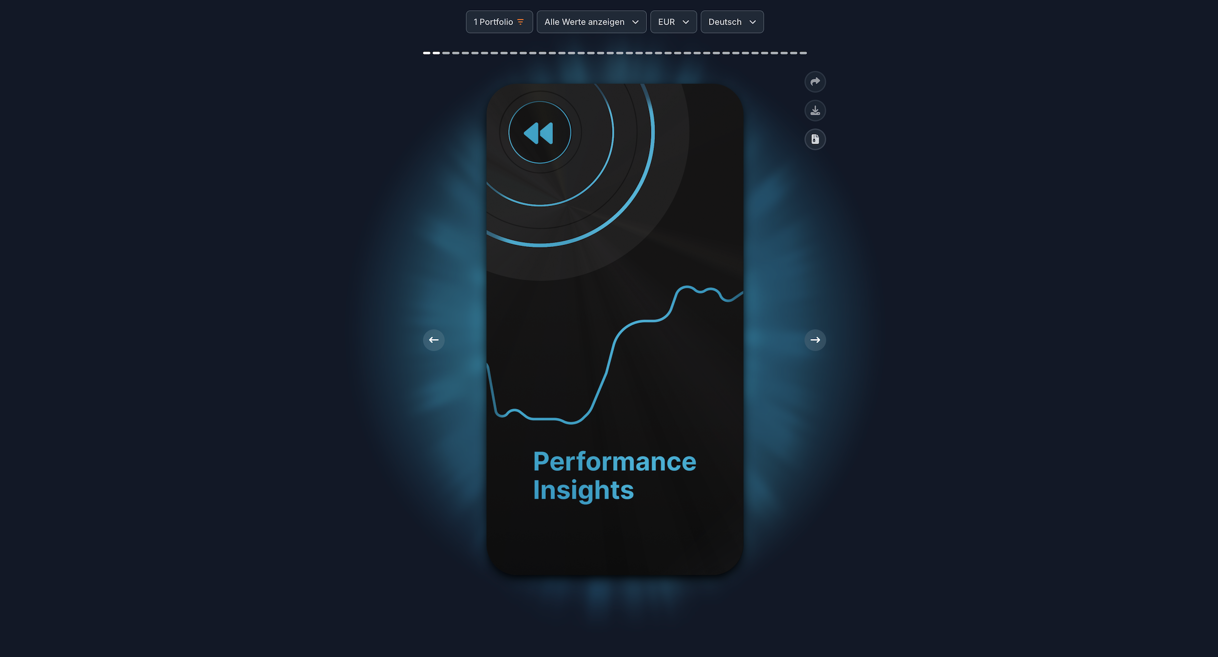
The Parqet Wrapped UI.
Once the user configured their settings in the Wrapped View (they can select combinations of portfolios and privacy options), the client sends a request to our POST /wrapped/assemble endpoint and receives a wrappedDataIdentifier string as the response.
The wrappedDataIdentifier is created by our API: It’s a hash of the user’s id and the configuration parameters, and it serves as a unique identifier for the user’s request. The clients can use it to poll whether images are ready and, once they are, to fetch them; the server uses it for caching.
Speaking of caching, calculating the badge data and rendering the image is fairly resource-intensive. We need stock prices, assets, holdings, activities from the database; we need to calculate financial data; and we need image-rendering and -processing (more about that later) to deliver the badges. So naturally, once calculation and rendering are done, we want to cache the resulting images in Redis.
Now, we could simply assign a TTL of 45 minutes and call it a day. But while a TTL of 45 minutes would handle most market changes, it would not account for users buying or selling shares.
Picture this: Sarah sees her badges, realizes that she hasn’t imported her latest Apple sales yet, and re-syncs her portfolio via Autosync. When she revisits the wrapped view, she should see those Apple sales reflected in her badges. So, with one sync, her entire portfolio and thus all of her badges might change.
That is why, after fetching data from cache, we verify that the latest portfolio-change-date1 is before the cache date. If it is before, we can send the cached images to the client. If it isn’t, we have to re-calculate the badge data, using “real-time” market data.
Calculating The Badge Data
We derive the badge data from the same financial data we need for the portfolio dashboard, so we first calculate that for the year-to-date timeframe.
We then pass the data to each of our 101 BadgeCalculators, giving us a list of badges to render:
export abstract class BadgeCalculator<CommunityData, BadgeData> {
  public abstract badgeId: WrappedBadgeId;

  // the `context` includes the financial data used for the portfolio
  // dashboard.
  protected abstract getBadgeData(
    context: WrappedContext,
    communityData: CommunityData,
  ): Promise<WrappedBadge<BadgeData> | null>;
}

export type WrappedBadge<BadgeData> = {
  badgeId: WrappedBadgeId;
  data: BadgeData;
};
Each of the calculators decides whether the user is eligible for the badge. A Reddit IPO badge should only be shown to users holding Reddit; an Emerging Markets badge should only be shown to users who are heavily invested in those markets.
Some of the badge calculators will compare the user’s data with CommunityData, for example to see whether the user has one of Parqet’s largest portfolios. We aggregate the community data beforehand by running scripts against our database.
To get a sense of a BadgeCalculator’s implementation, here is the AllocationBadgeCalculator, which we use to calculate many allocation-based badges:
// one of the many allocation-based badge calculators.
export class AlloFinanceBadgeCalculator extends AllocationBadgeCalculator {
  protected badgeId = WrappedBadgeId.AlloFinance;
  protected category = SecurityDimensionKey.sectors;
  protected dimensionId = ’sct_40’;

    // the user needs to be allocated >= 30% into the finance sector
    // to receive the badge.
  protected threshold = 30;
}

export abstract class AllocationBadgeCalculator extends BadgeCalculator<
  CommunityData2024,
  { allocation: number; communityAverage: number }
> {
  protected abstract category: SecurityDimensionKey;
  protected abstract dimensionId: string;
  protected abstract threshold: number;

  protected async getBadgeData(
      context: WrappedContext,
      communityData: CommunityData2024
    ) {
    const relevantAllocations = context.dimensionAllocation[’securities’][this.category];
    const matchingDimension = relevantAllocations.find((it) => {
        return it.id === this.dimensionId;
        });

    if (matchingDimension && matchingDimension.share >= this.threshold) {
      return {
        allocation: matchingDimension.share,
        communityAverage: getCommunityAverage(communityData, this.badgeId),
      };
    }

    return null;
  }

  protected getMockBadgeData(_opts: MockOptions) {
    return {
      allocation: 57.537,
      communityAverage: 144.238,
    };
  }
}
This is a fairly simple calculator; there are others where we forecast returns, compare the user’s performance against live data of popular portfolios, and so on.
Once the badge data is calculated, we need to round the numeric values. Seems obvious, but we had too many 3.000004’s wreaking havoc on our HTML for us not to mention it.
After the calculation, we know which badges we’ll display to the user, and we store the result as an expectedBadgeIds array in our Redis.
Rendering and Image Processing
Now it’s time to send the badge data to the AWS rendering queue.
The Parqet API first dispatches it to AWS’s API Gateway, which routes the data to a scheduling Lambda2. That scheduling Lambda, well, schedules in SQS one job for every single badge. SQS3 then spins up another Lambda to do the rendering.
But those "rendering"-lambdas are not actually rendering—in fact, they are taking screenshots.
Each lambda creates (or reuses, if available) a puppeteer 4 instance and navigates to the /widgets/wrapped page of our WebApp, passing a ?payload= query param with the base64 encoded badge data.
Our Nuxt WebApp parses the base64 data and uses it to render the badge three times, and the Lambda uses puppeteer’s .screenshot(..) API to capture it.
Wait, why render it three times?
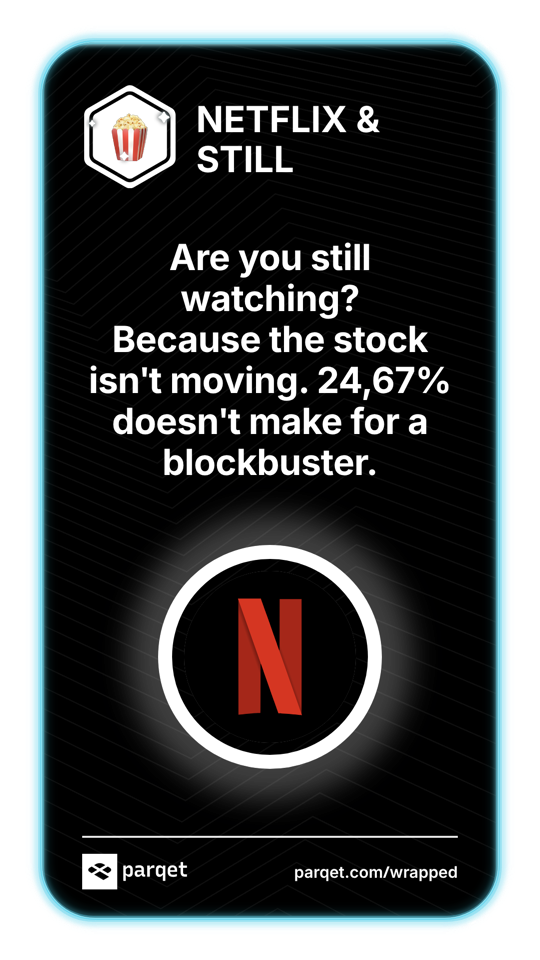
This is to solve the fifth requirement—having more and less transparent areas on the images. As you can see in the image below, the headline, the highlighted text, and the border and glow of the Netflix logo are transparent. In the actual UI of our clients, the background is a moving video with flowing colors, and you can see the movement through the transparent parts.
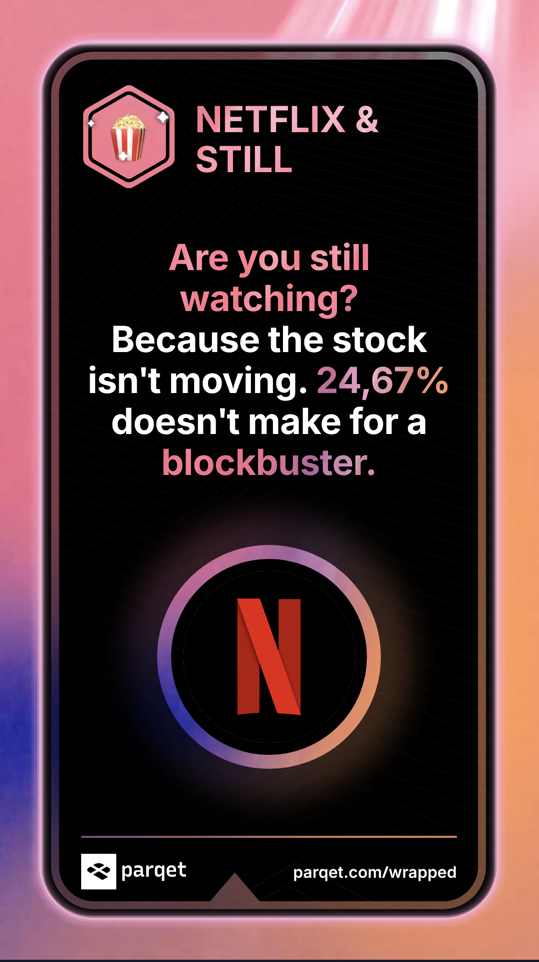
Our Netflix badge. The colored parts are transparent, and we have a somewhat transparent shimmer around Netflix’s logo.
If you look closely, there is a glow around the Netflix logo that is less transparent than the rest. It turns out that it’s nearly impossible to achieve this with only CSS, so we went for a rather convoluted approach—we render the badge in three different versions.
The to-be-knocked-out part is full blue (#0000ff) on the left one, full red (#ff0000) on the middle one, and transparent on the right one:
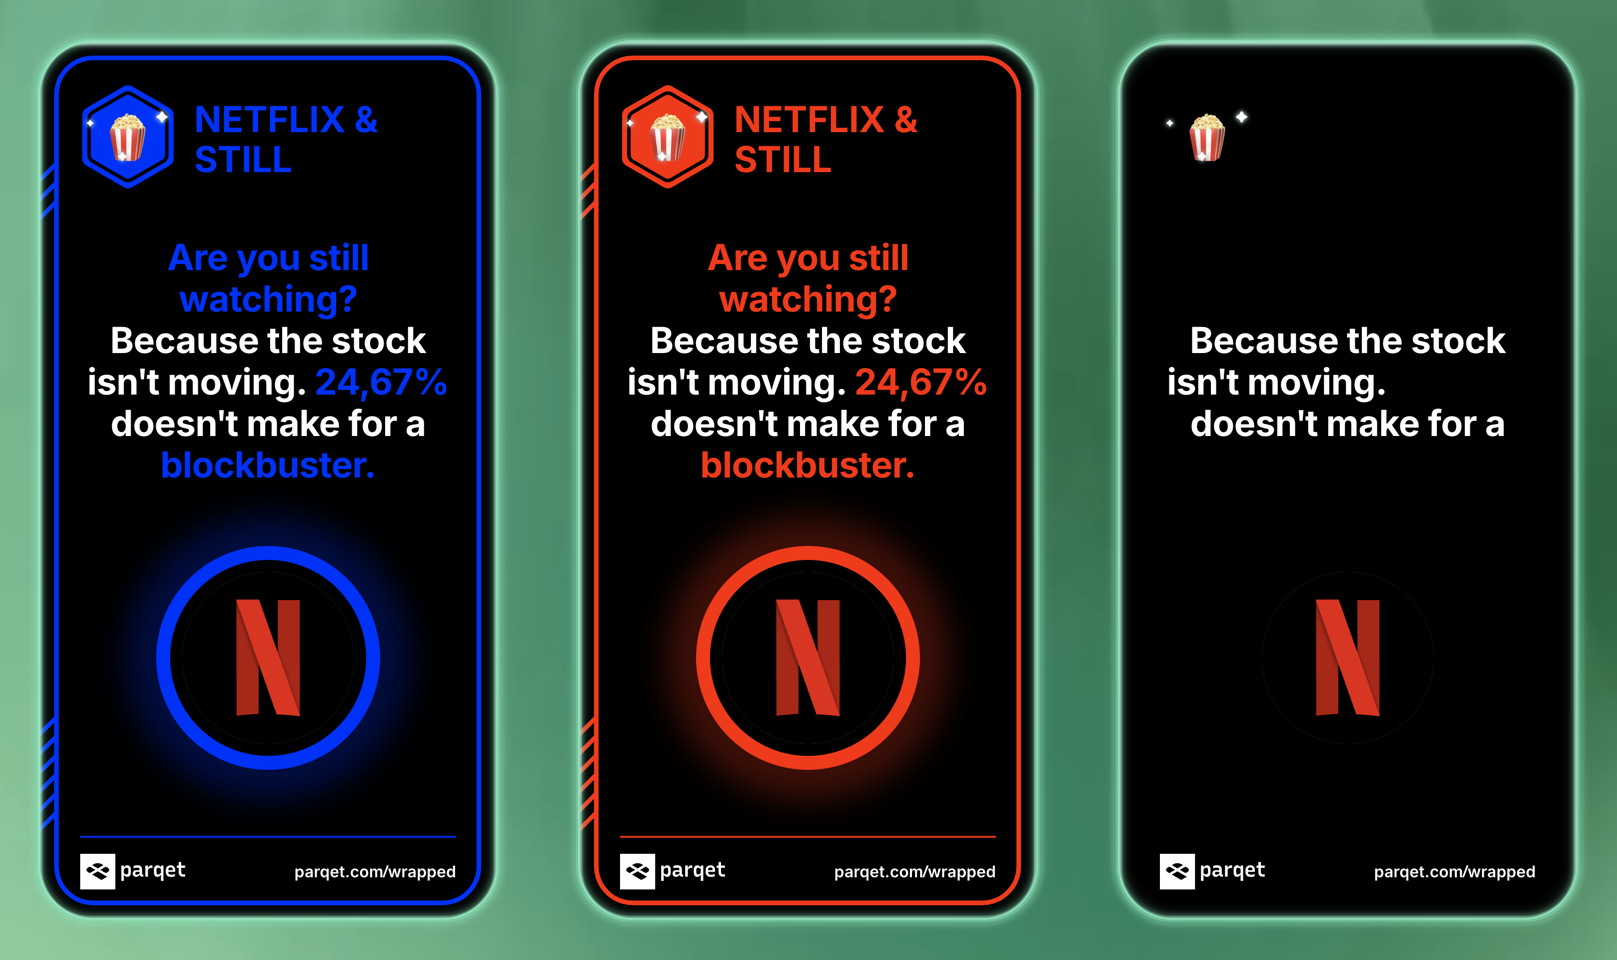
Our Netflix badge, as screenshotted by our Lambda. Note that opacity is still applied. You can see a bit of red/blue shimmer around the logo.
During image processing, we compare each pixel of the blue badge to the pixel of the red badge.
Pure red and pure blue have a numerical difference of 510 (0,0,255 vs. 255,0,0), so when two pixels differ by that amount, we set the final image’s pixel’s alpha to zero. When the difference is less than 510, we know that we’re looking at a pixel that’s supposed to be knocked out with a finer-grained opacity. We could simply calculate the difference, but there’s an issue: We can use neither the red badge’s nor the blue badge’s pixel in the final image, since they are already tinted. Reducing the opacity of a blue pixel won’t make it less blue.
To solve the issue, we render the transparent badge on the right. We can simply use the color of the transparent badge’s pixel and modify that pixel’s alpha value.
Hard to explain, but the code is fairly simple:
function createKnockoutBadge(dataBlue: number[], dataRed: number[], dataTransparent: number[]) {
  // ....

  /** `i` increments by 4 since every pixel has 4 entries: r,g,b,a */
  for (let i = 0; i < dataBlue.length; i += 4) {
    const rb = dataBlue[i];
    const gb = dataBlue[i + 1];
    const bb = dataBlue[i + 2];

    const rr = dataRed[i];
    const gr = dataRed[i + 1];
    const br = dataRed[i + 2];

    const difference = Math.abs(rb - rr) + Math.abs(gb - gr) + Math.abs(bb - br);

    if (difference <= 2) {
      // minimal differences due to compression etc.
      continue;
    } else if (difference < 510) {
      // Use the color of the transparent badge’s pixel
      dataBlue[i] = dataTransparent[i];
      dataBlue[i + 1] = dataTransparent[i + 1];
      dataBlue[i + 2] = dataTransparent[i + 2];

      /**
       * Use the transparent badge’s pixel’s opacity and apply
       * red/blue difference
       */
      const dataTransparentAlpha = dataTransparent[i + 3];
      const alpha = Math.min(dataTransparentAlpha, (difference / 510) * 255);

      dataBlue[i + 3] = dataTransparentAlpha - alpha;
    } else {
      // full difference of 510 -> set opacity to zero
      dataBlue[i + 3] = 0;
    }
  }
}
We then save the image as a .png file and upload it to a dedicated S3 bucket.
The finished .png, containing parts with varying levels of transparency.
Calling the API Webhook and Showing the Images to our Users
Once the image is uploaded, the Lambda calls a Parqet webhook endpoint, sending the wrappedDataIdentifier, the badgeId, and the pre-signed S3 URL for that image.
Once our API receives that request, it stores the image URL inside the wrappedDataIdentifier’s cache entry.
Meanwhile, while the Parqet API and the Lambdas do their thing, the client polls our API’s /wrapped/:wrappedDataIdentifier/exists endpoint. With every request, the endpoint fetches the cache entry, counts the completed and the expected images, and sends the count back to the client.
// a method on our WrappedService
async isWrappedDataReady(
    wrappedDataIdentifier: string,
    userId: string,
) {
    const cacheKey = this.getCacheKey(wrappedDataIdentifier, userId);

    const wrappedData = await this.cache.getAllFields(cacheKey);
    if (!wrappedData) {
        return {
            numExisting: 0,
            numExpected: 0,
        };
    }

    const expectedBadgeIds = wrappedData[CACHE_KEY_EXPECTED_BADGES];

    const numExisting = expectedBadgeIds.filter((badgeId) => {
        return !!wrappedData[badgeId];
    });

    return {
        numExisting,
        numExpected: expectedBadgeIds.length,
    };
}
Once the completed count matches the expected count, we have finished all the images, and the client will fetch the final list of image URLs and show Parqet Wrapped to the user.
With this setup,
- we’re rendering images that can be shared with the click of a button
- we can spin up 1,000+ concurrent lambdas to take screenshots 5
- we show portfolio data that’s at most 45 minutes old
- we can compare the user’s portfolio with aggregated community data
- we can design our badges in CSS & HTML
- and we have varying degrees of transparency on our badges.
Mission accomplished.
Footnotes
- In reality, there’s no single "portfolio-change-date". We calculate on a per-holding-basis, so we find the latest date any of the requested holdings’ histories was recalculated. A holding’s history needs to be recalculated whenever its transactions change (via AutoSync; PDF import; manual deletion, update or creation) or a stock event (splits, merges, …) takes place. ↩
- "AWS Lambdas" are AWS’s serverless functions. ↩
- "SQS" is AWS’s Simple Queue Service. ↩
- "puppeteer" is a headless browser library. ↩
- We also use this setup for our social preview images; if you share an asset via app.parqet.com on X or Facebook, the preview image you can see in the feed is made by the same screenshot Lambda. ↩